Getting a roof inspection can feel a little like reading a foreign language when you’re not in the industry. Terms like flashing, underlayment, and granule loss can leave homeowners confused. But understanding your roof inspection report is key to making informed decisions about maintenance, repairs, and replacements.
In this blog, our Charleston roofing service team will provide a clear, relatable guide to help you make sense of it all after having your roof inspected.
1. Start With the Overview
Most inspection reports begin with a summary of the roof’s overall condition. This is your “big picture” section, where a certified inspector will disclose whether your roof is in good shape, showing signs of wear, or in need of immediate attention. Think of it as your roof’s health report, and pay close attention to any recommendations listed here.
2. Learn the Key Terms
Here are some of the most common terms you’ll see:
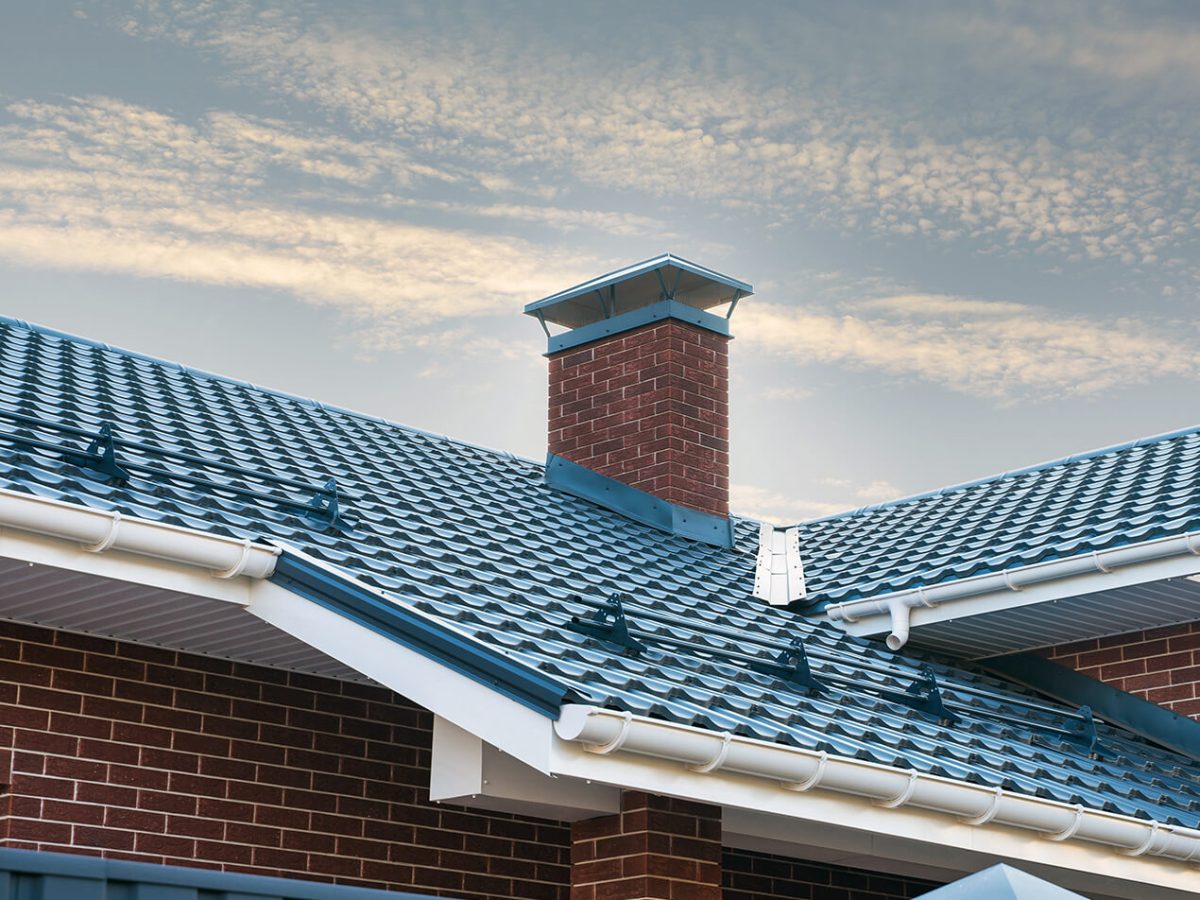
- Flashing: The metal strips around chimneys, vents, and skylights that prevent water from seeping in. Damaged flashing is one of the leading causes of leaks.
- Underlayment: The protective layer between your roof deck and shingles. It’s crucial for waterproofing.
- Granule Loss: When the little stone granules on your asphalt shingles start falling off, it can reduce protection and shorten your roof’s lifespan.
- Sagging or Decking Issues: These indicate structural concerns that could become serious if ignored.
If a term confuses you, ask your inspector to explain it. A good professional will gladly walk you through it.
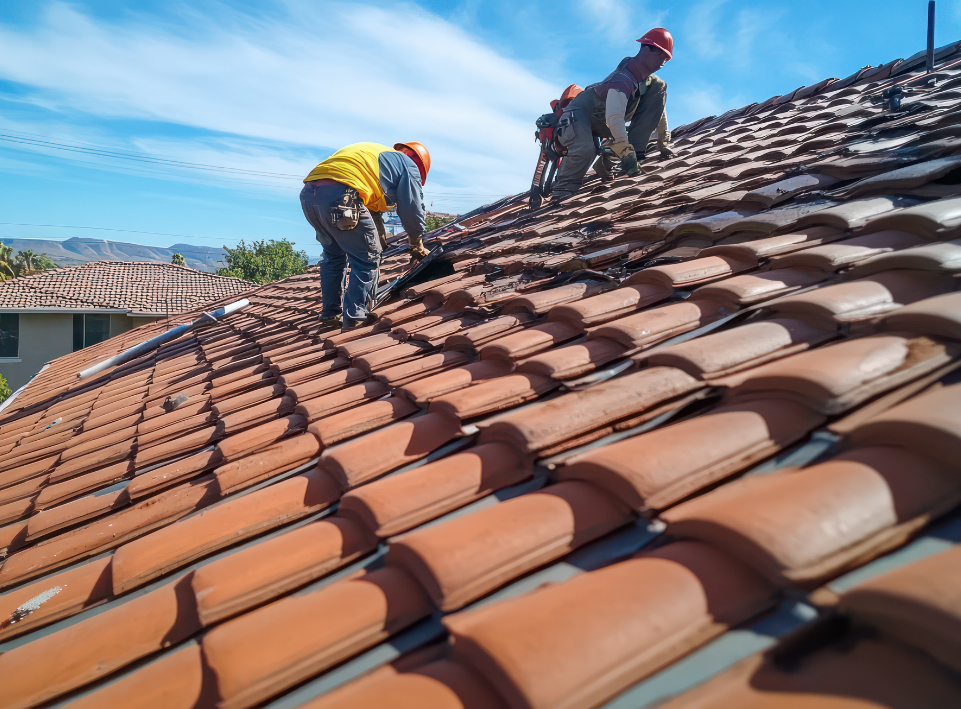
3. Pay Attention to the Photos
Many inspection reports now include photos. These visuals show exactly where damage or wear exists, helping you understand the scope of any roof repairs. Pay attention to the captions explaining what the photo shows—don’t just glance at them.
4. Focus on Recommendations & Priorities
Regular roof inspection reports often list repairs in order of urgency. Some might be cosmetic, such as granule loss or discoloration, while others, such as missing shingles or mold growth, are critical to prevent leaks or structural damage. Knowing what needs immediate attention versus what can wait helps you plan your budget and schedule.
5. Understand Lifespan & Maintenance Advice
Your inspector may include notes on your roofing system’s expected lifespan and maintenance tips. Seasonal cleaning, gutter upkeep, and timely repairs can extend the life of your roofing materials and protect your home from costly damage.
6. Don’t Be Afraid to Ask Questions
A roof inspection report should never leave you guessing. If something doesn’t make sense—whether it’s a technical term, a recommended repair, or a suggested timeline—call your local roofing company and ask for clarification. At Pioneer Roofing, we make it a priority to walk homeowners through their reports, so you understand exactly what’s happening with your roof.
Schedule Your Roof Inspection in Charleston or Reach Out to Pioneer Roofing for Further Guidance
Reading your roof inspection report doesn’t have to be intimidating. By familiarizing yourself with key terms, carefully reviewing photos, and asking questions about recommendations, you can take control of your roof’s health and make smart decisions for your home.
Need help scheduling a professional roof inspection or interpreting an existing roof inspection report? Contact Pioneer Roofing today, and one of our expert roofing contractors will walk you through it step by step.